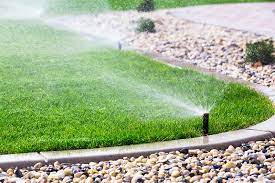
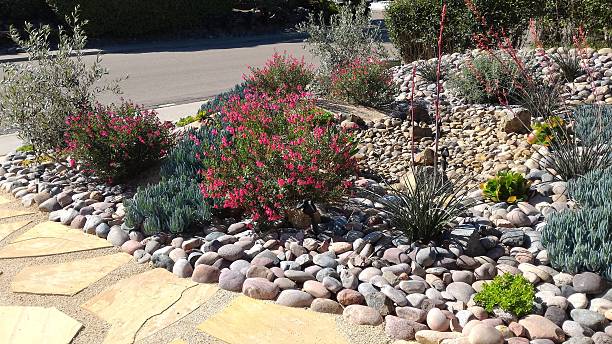
Does installing a sprinkler system seem like a daunting task? With a little bit of knowledge and the right tools you can install a sprinkler system with no issues. Installing a sprinkler system in your lawn or garden allows you to minimize water usage while maintaining a beautiful lawn and keeping your plants healthy. Here’s a step-by-step guide to install a sprinkler system. Be prepared to be the envy of the neighborhood.
Plan your Sprinkler System Install
The first step to install a sprinkler system is to contact your utilities locating services to come out and mark all underground utilities. With utilities marked you can now plan out how many valves that you will need. You should never run sprinklers that water different areas so you want to have garden beds separated from lawn areas. You will need to test your water pressure to ensure how many sprinkler heads can run off a valve or zone but if you are using standard spray heads you typically don’t want more than 10 heads on a zone. If you are using larger rotors you will want to have no more than 6 heads on a zone. Consider the size and layout of your lawn or garden, as well as the type of plants you have and their watering needs
Choose your sprinkler heads
There are several different types of sprinkler heads to choose from, each with its own set of features and benefits. Some common types of sprinkler heads include rotary, impact, and drip. Rotary sprinkler heads are best for large areas and can cover a wide radius with a gentle spray of water. You will want to limit rotary heads to spaces that are 30 ft or longer. For smaller areas, impact sprinkler heads are best because you can adjust them to provide a more targeted watering pattern. Drip sprinklers are great for watering individual plants or small areas and use a slow trickle of water to avoid over saturating the soil.
Gather your tools and materials
To install a sprinkler system, you will need a few basic tools and materials and you can pick them up at any local hardware store. You will want to have a shovel, a pipe cutter, sprinkler glue, a phillips screwdriver as well as a flathead screwdriver. You will also need PVC pipe and fittings, sprinkler valves, and the sprinkler heads of your choice.
Install the main water line for the sprinkler system
The main water line is the main supply of water for your sprinkler system. This line will run to every valve box that you install to supply the water. You will want to use 1” PVC Pipe to ensure good water pressure to your system. To install the main water line, dig a trench 6” to 12” along the route you have planned for the pipe. You will run one end to the valve box with the other end connecting to your main water supply. When connecting to your main water supply you will want to check your local guidelines to see if a backflow preventer is necessary for your sprinkler system. Backflow preventers allow water to only flow in one direction and help protect water supplies, but aren’t required on all systems.
Install the valve box
The valve box is where the water valve and the main water line come together. You will place these in the ground and these will house control the flow of water to the sprinkler heads. You can have anywhere from 1 to 5 valves in each valve box. Most sprinkler systems will typically have two valve boxes, one for your front yard and one for your backyard. If your yard is large you might have more. To install the valve box, dig a hole large enough to accommodate the box and place it in the hole. Connect the main water line to the valve using fittings and a pipe wrench. Do not over tighten as you can crack the pipe fittings. Valve fittings should be made of schedule 80 pipe which is thicker than schedule 40 pipe and more durable.
Install the sprinkler heads
All the pipes coming out of the valves will be considered secondary sprinkler lines. You will trench those to the same depth as the main which is 6” to 12”. These lines will run along the edge of your lawn or garden bed. You will cut the secondary line and place a sprinkler head fitting for each sprinkler head location that you have planned. You will use funny pipe to connect your sprinkler heads to the secondary lines, as funny pipe allows flexibility when placing your sprinkler heads and you can move them if needed. Make sure that your sprinkler heads overlap to ensure that you are getting proper coverage.
This is where you will want to choose nozzles for your sprinklers. There are several new models that will reduce water usage while ensuring coverage. Pay attention to the spray patterns of the nozzles that you purchase. There are several different variations offered and you will want to place those on the appropriate sprinkler.
Test the system
With your sprinkler heads installed, it’s time to test the system to make sure everything is working properly. Turn on the water and adjust the water timer to the desired watering schedule. Observe the sprinkler heads to make sure they are functioning correctly and that the water is being distributed evenly. Adjust the sprinkler heads to the desired spray pattern and angle. You are now ready to test. Once tested you can start watering your lawn or garden with your new sprinkler system.
As you can see when you install a sprinkler system it isn’t as hard as it appears. Be prepared to get a little dirty and put in some good labor and you will get it done. Not only will you impress your neighbors with a great lawn but they will be impressed when you let them know you installed it yourself.


0 Comments